Understanding the Battery Connector
What Is a Battery Connector?
The battery connector is one of the most important components inside an Android smartphone. Although it is small, it serves as the critical bridge between the battery and the motherboard. Without a properly functioning battery connector, the device cannot receive stable power, charge correctly, or maintain reliable performance. Think of it as a highway connecting two major cities. If the road is damaged or blocked, traffic cannot move efficiently. In the same way, electrical current cannot flow correctly when a battery connector is faulty.
Modern Android phones released in 2026 use compact battery connectors designed to save space and support higher charging speeds. Manufacturers continue to reduce the size of internal components while increasing performance. As a result, battery connectors have become more delicate than ever. Even a minor drop, liquid damage, overheating event, or improper repair attempt can damage the connector and interrupt power flow.
Many technicians overlook the battery connector during diagnostics because charging issues often appear similar to battery failures or charging port problems. However, experienced repair professionals know that connector-related faults account for a significant percentage of power-related smartphone issues. Understanding how the battery connector functions is the first step toward successful diagnosis and repair.
Why Battery Connectors Fail
Battery connectors fail for several reasons, and identifying the root cause is essential before starting any repair. Physical damage is one of the most common causes. Smartphones are frequently dropped, bent, or exposed to pressure, which can crack solder joints or loosen connector pins. Once the connection becomes unstable, the phone may experience intermittent charging or sudden shutdowns.
Liquid exposure is another major threat. Water and moisture can corrode the tiny metal contacts inside the connector. Even when the phone appears dry on the outside, corrosion may continue to spread internally over time. This hidden damage often leads to charging failures months after the original incident.
Poor-quality repairs can also create battery connector problems. Excessive heat during soldering, incorrect replacement parts, or improper handling may damage delicate motherboard traces. In some cases, repeated battery replacements can wear out the connector itself. Every time the battery is disconnected and reconnected, the contacts experience slight mechanical stress.
Heat plays a significant role as well. Fast charging technologies continue to evolve in 2026, generating more heat during charging cycles. Prolonged exposure to high temperatures can weaken solder joints and accelerate connector deterioration. Recognizing these common causes helps technicians perform more accurate repairs and reduce the risk of recurring issues.
Signs of a Damaged Battery Connector
Phone Not Charging
")
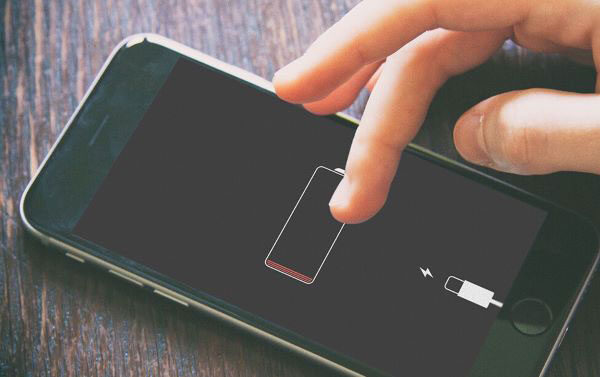
One of the clearest indicators of a damaged battery connector is a phone that refuses to charge despite using a working charger and charging cable. Many users immediately assume the battery has failed, but the actual issue may lie between the battery and motherboard. If the connector is damaged, power cannot travel efficiently to the battery, preventing the charging process from completing successfully.
In some situations, the phone may briefly show a charging symbol before disconnecting repeatedly. This behavior usually indicates an unstable electrical connection. The charging current starts flowing but is interrupted when the damaged connector loses contact. The result is inconsistent charging performance that frustrates users and complicates diagnosis.
Another warning sign involves extremely slow charging speeds. Even when the charger and battery are functioning correctly, damaged connector pins can create resistance in the electrical path. This resistance reduces charging efficiency and increases heat generation. Users often notice their phones taking several hours longer than normal to reach a full charge.
Technicians should never replace the battery immediately without first inspecting the battery connector. A simple visual examination under magnification can reveal bent pins, corrosion, cracked solder joints, or physical damage. Identifying these issues early can save both time and money during the repair process.
Random Shutdowns and Reboots
A faulty battery connector often causes unexpected shutdowns and random restarts. This occurs because the power supply becomes unstable whenever the connector loses proper contact with the motherboard. Even a brief interruption lasting a fraction of a second can force the phone to reboot or power off completely.
Users commonly report that the device shuts down when moved, tapped, or placed in a pocket. These symptoms strongly suggest a loose battery connection rather than a software problem. Since the phone relies on continuous power delivery, any disruption can trigger system instability.
The issue becomes particularly noticeable during high-performance tasks such as gaming, video editing, or camera usage. These activities increase power demand, exposing weaknesses in damaged connectors. As electrical current increases, poor connections become more likely to fail temporarily, resulting in sudden crashes.
Battery percentage fluctuations may also occur. Some phones jump from 50% to 10% within seconds because the unstable connector interferes with battery communication circuits. This behavior often misleads users into thinking the battery itself is defective. Careful testing and inspection are necessary to determine whether the connector is the true source of the problem.
Tools Required for Battery Connector Repair
Repairing a battery connector requires precision, patience, and the proper equipment. Attempting the repair without professional tools dramatically increases the risk of motherboard damage. Successful technicians understand that quality tools are investments rather than expenses.
Essential equipment includes a precision screwdriver set, plastic opening tools, ESD-safe tweezers, soldering station, hot air rework station, microscope, multimeter, solder wick, flux, leaded solder, and replacement battery connectors. Each tool serves a specific purpose during the repair process. For example, a microscope allows technicians to inspect microscopic solder joints that cannot be seen clearly with the naked eye.
How to Fix a Smartphone That Won’t Power On: Complete Troubleshooting Guide for 2026
Safety should always remain the top priority. Anti-static protection helps prevent electrostatic discharge from damaging sensitive electronic components. Wearing safety glasses is recommended when using hot air equipment, and proper ventilation reduces exposure to solder fumes. Technicians should also disconnect the battery immediately after opening the device to minimize electrical risks.
The quality of replacement parts matters significantly. Cheap connectors often have poor tolerances and lower durability. Using original-quality components improves repair reliability and reduces the likelihood of future failures. Investing in high-quality parts ultimately saves time and enhances customer satisfaction.
Diagnosing the Battery Connector Problem
Visual Inspection
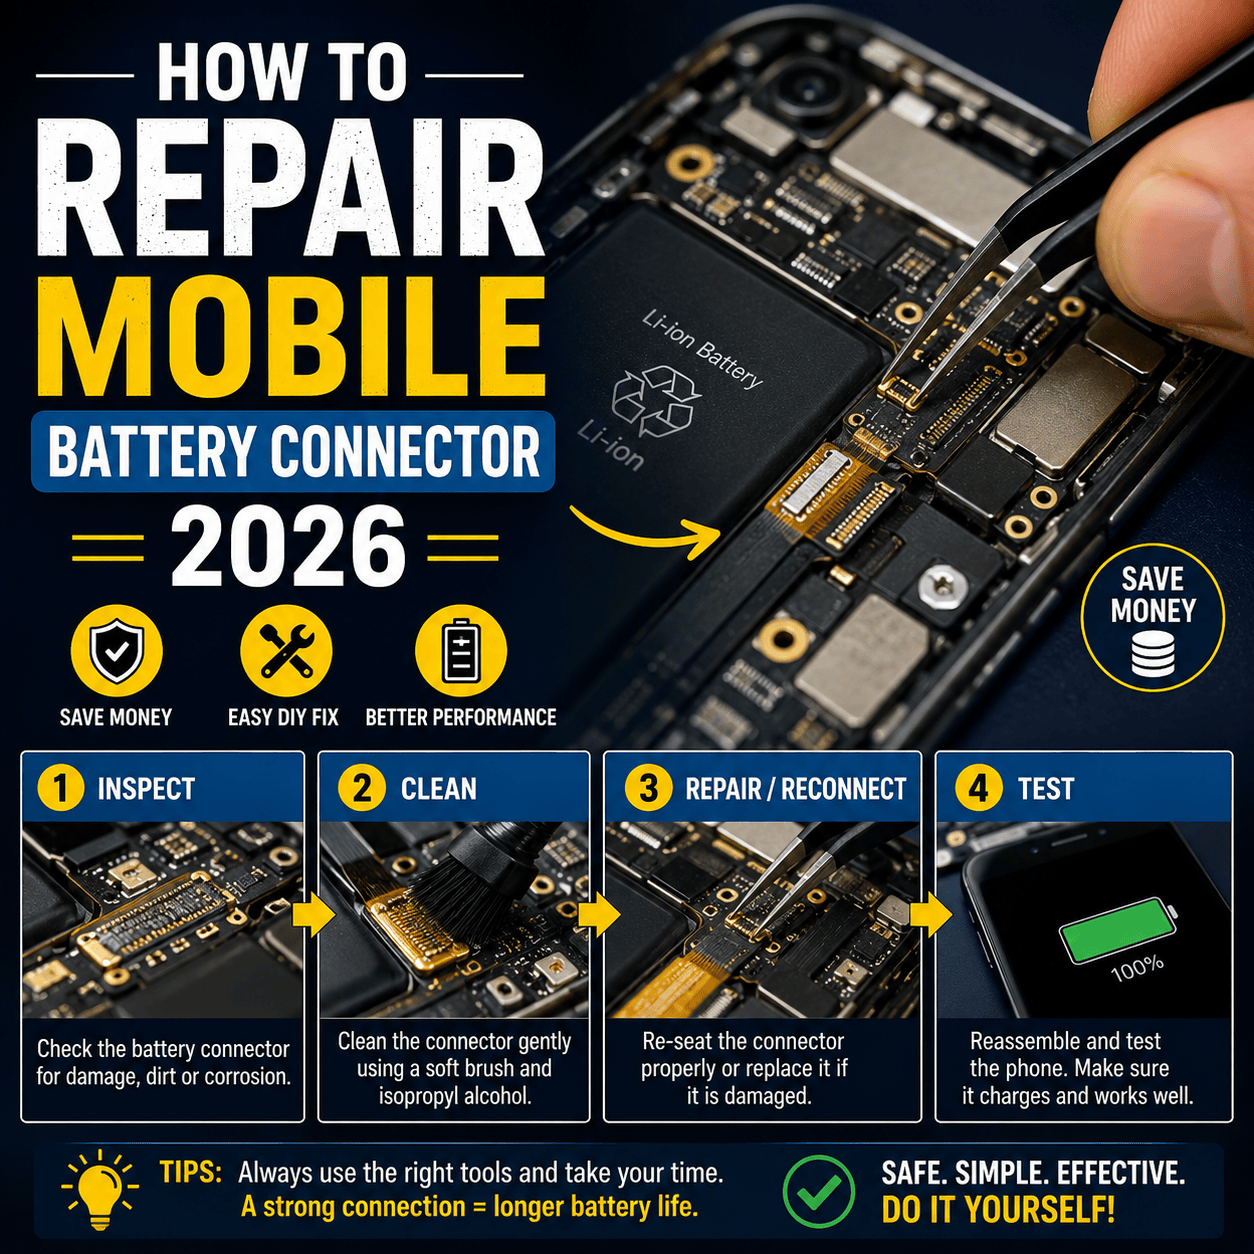
Before replacing any component, a thorough visual inspection should always be performed. Professional technicians know that many battery connector issues can be identified within minutes using a microscope or magnifying glass. Start by examining the connector pins for signs of bending, discoloration, corrosion, or physical damage. A healthy connector should have evenly aligned pins with a clean metallic appearance.
Pay close attention to the solder joints connecting the battery connector to the motherboard. Cracked solder joints are common after drops or impacts. These tiny fractures can interrupt electrical continuity even though the connector appears normal at first glance. Under magnification, damaged solder joints often show visible gaps or ring-shaped cracks around the connector legs.
Corrosion is another critical warning sign. Green, white, or dark deposits around the connector usually indicate previous liquid damage. Corrosion can spread underneath the connector and damage surrounding motherboard traces. If corrosion is present, cleaning and repair should be completed before installing a replacement connector.
Technicians should also inspect nearby components. A damaged battery connector may have caused overheating, affecting adjacent capacitors, resistors, or power management circuits. Identifying secondary damage early prevents repeat repairs and improves the overall success rate.
Testing with a Multimeter
Visual inspection alone is not always sufficient. A digital multimeter provides valuable information about the electrical condition of the battery connector and surrounding circuits. Using continuity mode, technicians can verify whether connector pins maintain proper electrical connections to the motherboard.
Begin by checking continuity between connector pins and their corresponding motherboard traces. Missing continuity often indicates a broken solder joint or damaged trace. Voltage measurements can also reveal valuable clues. If the battery outputs the correct voltage but power fails to reach the motherboard, the connector becomes a likely suspect.
Resistance testing helps identify short circuits that may have developed due to corrosion or accidental damage. Unusually low resistance values between power and ground lines should be investigated carefully before proceeding with repairs. Installing a new connector without addressing an existing short circuit may lead to immediate component failure.
Professional repair shops frequently combine visual inspection and multimeter testing to create a complete diagnosis. This approach reduces unnecessary part replacements and increases repair accuracy.
Step-by-Step Battery Connector Repair Process
Opening the Device Safely
Every repair begins with proper disassembly. Modern Android phones use strong adhesives, hidden clips, and delicate flex cables that require careful handling. Rushing this step often causes more damage than the original problem.
Start by powering off the device completely. Remove the SIM tray and apply controlled heat around the back cover to soften the adhesive. Using plastic opening tools rather than metal objects minimizes the risk of scratches and internal damage. Slowly separate the cover while paying attention to fingerprint sensor cables and other connected components.
Once inside, disconnect the battery immediately. This simple action significantly reduces the risk of short circuits during repair. Organize screws carefully because many Android phones use multiple screw lengths and thread types. Mixing them up can cause motherboard damage during reassembly.
Patience is critical during disassembly. Every smartphone model has unique internal layouts, and forcing components can break fragile connectors. Taking photographs throughout the process helps ensure proper reassembly later.
Removing the Damaged Connector
Connector removal requires precision and temperature control. Excessive heat can damage nearby components, while insufficient heat makes removal difficult. Using a professional hot-air rework station allows technicians to apply targeted heat safely.
Begin by protecting surrounding components with heat-resistant tape. Apply quality flux around the connector to improve heat transfer and solder flow. Carefully heat the connector until the solder softens. Once the solder reaches the proper temperature, use precision tweezers to lift the connector gently from the motherboard.
Never force the connector off the board. If resistance is encountered, additional heat may be required. Pulling prematurely can lift motherboard pads and create a much more complicated repair.
After removal, clean the area thoroughly using solder wick and flux. The objective is to create a smooth, clean surface for the replacement connector. Inspect the pads carefully under magnification to ensure no traces or pads were damaged during removal.
Soldering a New Connector
Installing the replacement connector is the most critical stage of the repair. Proper alignment determines whether the connector will function reliably. Even slight misalignment can prevent battery contact or create intermittent power issues.
Apply a small amount of fresh solder to the motherboard pads. Position the new connector carefully using precision tweezers. Under microscope magnification, verify that every pin aligns perfectly with its corresponding pad.
Use a soldering iron with a fine tip to secure the connector. Apply heat gradually while avoiding excessive solder. Too much solder can create bridges between adjacent pins, resulting in short circuits. Once all pins are soldered, inspect the connections thoroughly under magnification.
After installation, perform continuity tests again to verify proper electrical connections. Correcting problems at this stage is much easier than reopening the phone after full reassembly.
Reassembling the Phone
Reassembly should follow the reverse order of disassembly. Before sealing the device completely, connect the battery and perform initial testing. Verify charging functionality, battery recognition, and overall device stability.
Check that the battery percentage updates correctly and that charging current remains stable. Monitor the device for several minutes to ensure there are no unexpected shutdowns or reboots. Testing before final assembly saves significant time if adjustments are required.
Once functionality is confirmed, reinstall protective covers, screws, and adhesives. Apply new adhesive strips where necessary to maintain water and dust resistance. Carefully align the back cover and ensure all clips engage properly.
A final inspection should verify that all buttons, cameras, speakers, and wireless functions operate normally. Professional technicians understand that quality control is just as important as the repair itself.
Common Mistakes to Avoid
Many battery connector repairs fail because of avoidable mistakes. One common error involves using excessive heat during removal or installation. High temperatures can warp connectors, damage nearby components, or lift motherboard pads.
Another frequent mistake is skipping diagnostic testing. Replacing a connector without confirming the root cause may waste time and money. In some cases, the real issue may be a damaged battery, charging IC, or power management circuit rather than the connector itself.
Poor-quality replacement parts also contribute to repair failures. Cheap connectors often have weak contacts and inconsistent manufacturing tolerances. Investing in high-quality replacement parts improves reliability and customer satisfaction.
Technicians should also avoid rushing the repair process. Precision electronics require patience. Taking a few extra minutes during alignment and testing can prevent hours of troubleshooting later.
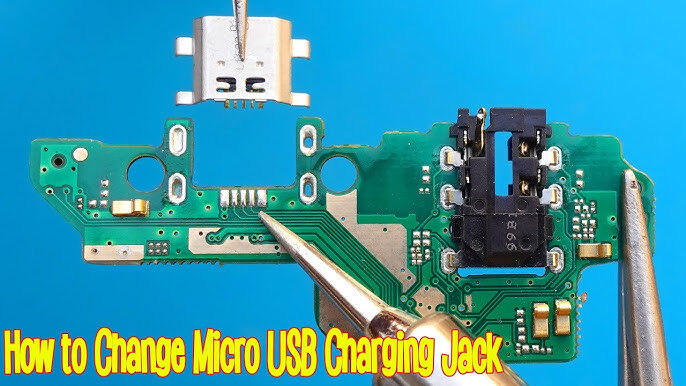
When to Replace the Entire Charging Board
Some Android phones use separate charging sub-boards that contain charging circuits and battery connectors. In these cases, replacing the entire board may be faster and more cost-effective than performing microscopic soldering work.
Board replacement becomes particularly attractive when multiple components are damaged. If corrosion affects several areas or if connector pads have lifted from the board, installing a replacement board may provide a more reliable solution.
The decision depends on part availability, labor costs, and repair complexity. Entry-level devices often benefit from board replacement, while flagship phones may justify advanced motherboard-level repairs due to higher device values.
Professional Repair vs DIY Repair
| Factor | DIY Repair | Professional Repair |
|---|---|---|
| Cost | Lower | Higher |
| Risk Level | High | Low |
| Required Tools | Extensive | Already Available |
| Success Rate | Moderate | High |
| Warranty | None | Often Included |
DIY repair can be rewarding for experienced hobbyists with proper tools and training. However, battery connector repairs involve microscopic components that require advanced soldering skills. Beginners may accidentally cause expensive motherboard damage.
Professional repair services offer greater reliability and often include repair warranties. Although the initial cost may be higher, professional repairs frequently provide better long-term value.
Battery Connector Repair Costs in 2026
Battery connector repair costs vary depending on the smartphone model, labor rates, and component availability. Entry-level Android devices typically cost between R250 and R500 for connector repairs. Mid-range models often fall within the R170 AND MORE range.
Premium flagship devices may exceed R800 because of complex motherboard designs and higher labor requirements. Foldable phones generally cost even more due to intricate internal layouts and delicate components.
Repair shops with advanced microsoldering capabilities may charge premium rates, but their higher success rates often justify the additional expense.
Tips to Prevent Future Connector Damage
Protecting the battery connector begins with proper device care. Avoid exposing the phone to moisture, excessive heat, and physical impacts. Use high-quality chargers and cables that comply with manufacturer specifications.
Avoid frequent unnecessary battery disconnections during repairs or modifications. Every connection cycle introduces wear to the connector contacts. Regular cleaning and inspection can also help identify early signs of corrosion before major damage occurs.
Using a protective case reduces the risk of internal damage during accidental drops. Small preventive measures often eliminate the need for expensive repairs later.
Conclusion
A damaged battery connector can make an Android phone unreliable, difficult to charge, or completely unusable. Fortunately, proper diagnosis and repair techniques can restore normal functionality and extend the device’s lifespan. Whether the issue involves cracked solder joints, corrosion, or physical connector damage, careful inspection and professional repair practices provide the best results.
Battery connector repair requires patience, precision, and the right tools. While experienced technicians may perform the repair successfully, many users benefit from seeking professional assistance. By understanding the causes, symptoms, and repair process, smartphone owners can make informed decisions and avoid unnecessary replacements.
FAQs
1. Can a damaged battery connector prevent a phone from turning on?
Yes. If the battery connector cannot deliver power to the motherboard, the phone may not power on at all.
2. How long does battery connector repair take?
Most professional repairs take between 30 minutes and 2 hours depending on the device model and damage severity.
3. Can I repair a battery connector without soldering?
In most cases, no. Connector replacement typically requires microsoldering equipment and skills.
4. How do I know if the battery or connector is faulty?
Testing with a multimeter and visual inspection help determine whether the problem originates from the battery or connector.
5. Is battery connector repair worth it?
Yes, especially for mid-range and flagship Android devices where replacement costs are significantly higher than repair costs.