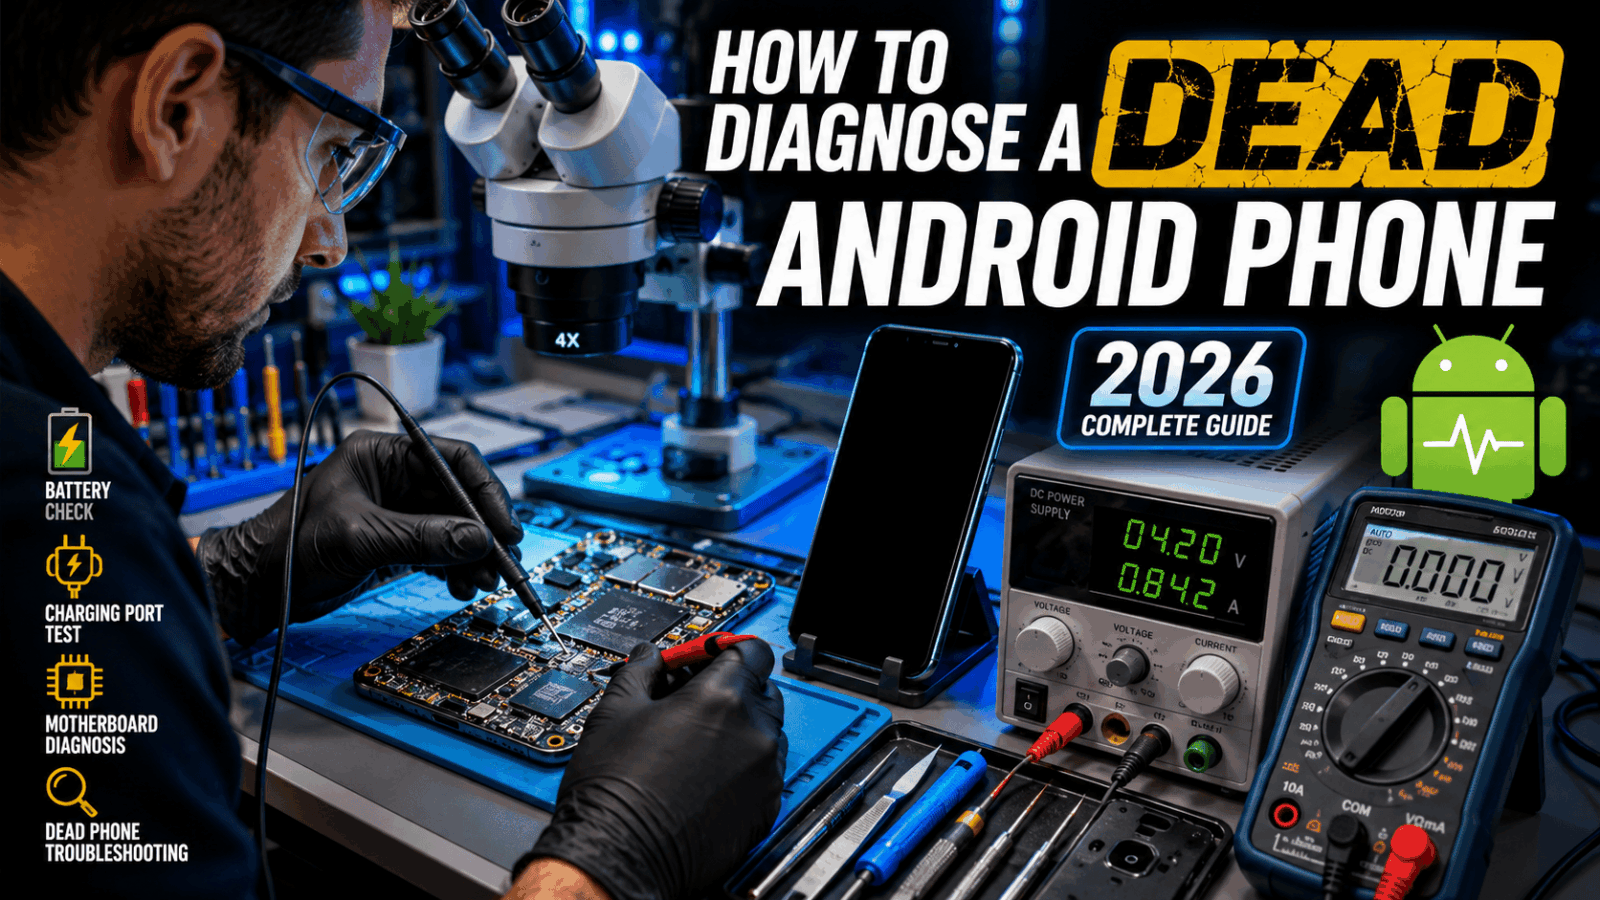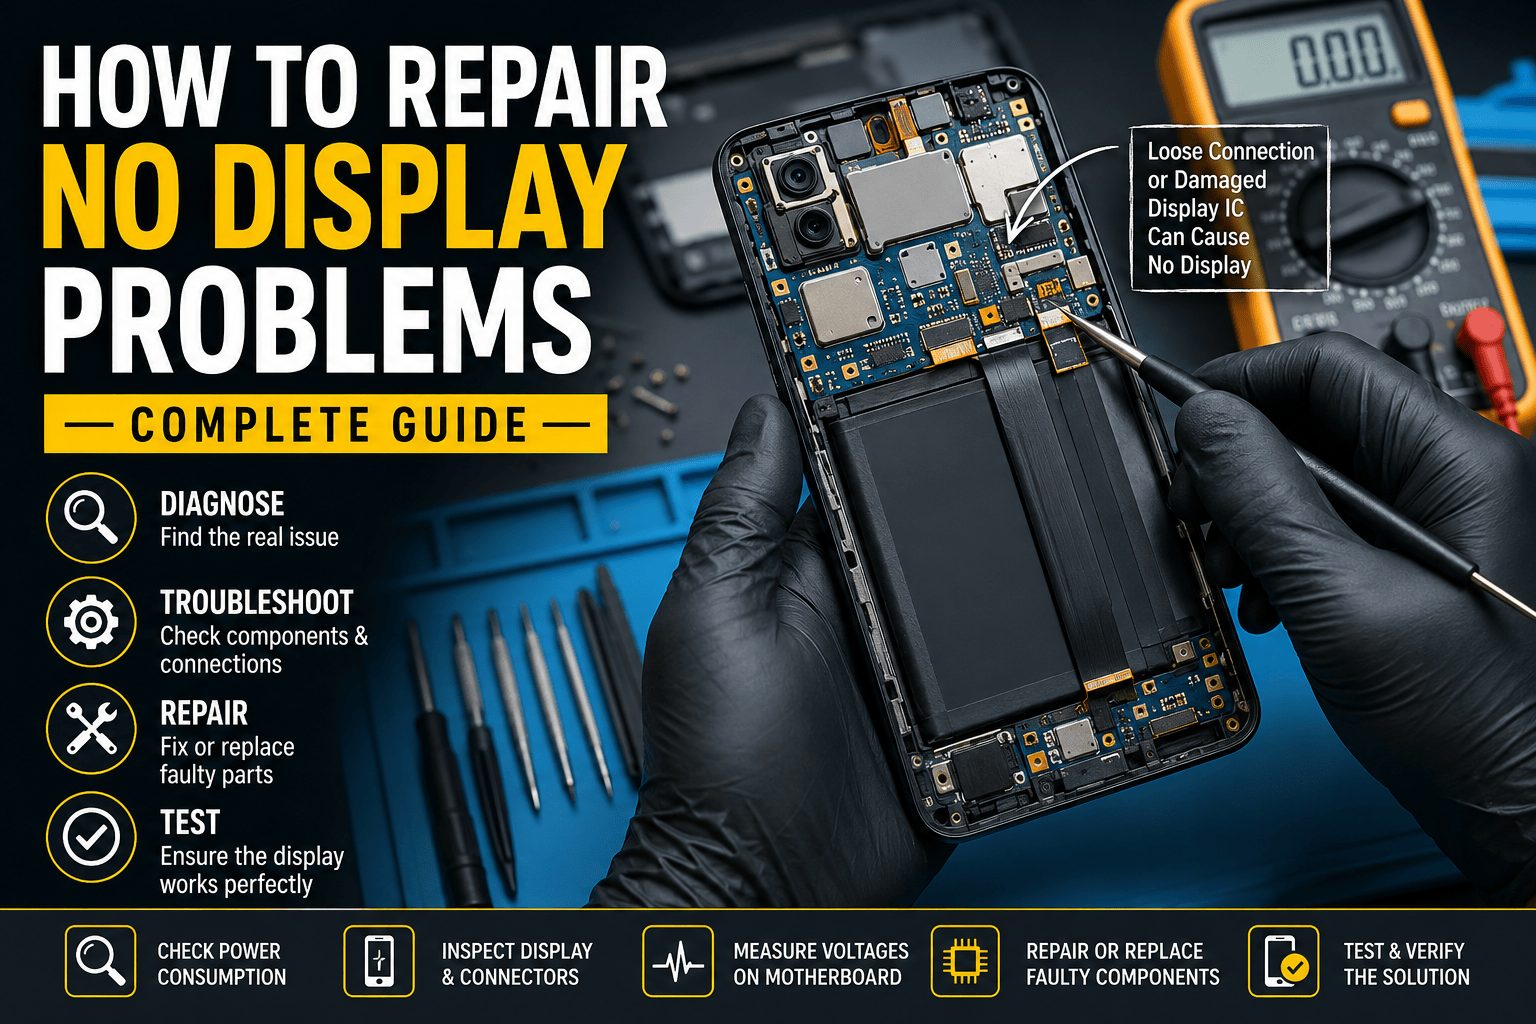
How to Repair No Display Problems on Mobile Phones
Understanding No Display Issues
A no display problem is one of the most common faults encountered by mobile repair technicians. The phone may vibrate, produce sounds, charge normally, or even receive calls, yet the screen remains completely black. This issue can affect Android devices, iPhones, tablets, and other smart devices. Understanding the exact nature of the fault is the first step toward a successful repair.
Many beginners mistakenly assume that a black screen automatically means a damaged display. In reality, the fault could originate from several areas including the display assembly, motherboard circuits, display connector, power management system, or software. Proper diagnosis helps technicians avoid replacing expensive components unnecessarily. The key to successful troubleshooting is following a structured repair process rather than guessing the faulty part.
What Is a No Display Problem?
A no display fault occurs when the device powers on but fails to show any image on the screen. In some cases, the backlight may work without image output, while in others the display remains completely dark. Users often report hearing notifications, alarms, or vibration despite the screen appearing dead.
Modern smartphones use sophisticated display technologies such as OLED and AMOLED panels that rely on multiple voltage lines and communication signals. If any of these lines become damaged, the display may stop functioning. Understanding how these components interact can significantly improve repair success rates.
Difference Between Dead Phone and No Display
A dead phone shows no signs of life whatsoever. There are no vibrations, charging indicators, sounds, or current consumption. A no display phone, however, usually powers on and performs background functions. This distinction is critical because it determines the troubleshooting path.
Technicians frequently save hours of unnecessary work by verifying whether the device is actually powering on. A simple power consumption test with a DC power supply can reveal whether the phone is booting successfully even though the display is not functioning.
Common Causes of No Display Problems
Several hardware and software factors can cause display failures. Identifying the most likely cause before starting repairs increases efficiency and reduces the risk of damaging the device further.
Damaged LCD or OLED Screen

Physical damage remains the leading cause of no display faults. Phones that have been dropped, bent, or exposed to excessive pressure often suffer internal screen damage even when the outer glass appears intact. OLED displays are particularly vulnerable because their internal layers can crack without visible signs.
Testing with a known working display is often the quickest way to confirm whether the screen itself is defective. Professional technicians typically keep test displays for popular models to speed up diagnosis.
Faulty Display Connector
Display connectors are delicate components that can become damaged during drops, improper repairs, or liquid exposure. Bent pins, corrosion, or missing pads can interrupt communication between the motherboard and display assembly.
Under a microscope, damaged connector pins often become immediately visible. Even a single broken pin can prevent the display from functioning correctly. Connector replacement requires precision soldering skills but can restore functionality without replacing the motherboard.
Backlight Circuit Failure
Many LCD-based smartphones rely on dedicated backlight circuits. If the backlight driver IC, coil, or related components fail, the display image may exist but remain invisible under normal lighting conditions.
A flashlight test can help identify this issue. Shining a bright light across the display surface sometimes reveals a faint image. If visible, technicians should focus on diagnosing the backlight circuit rather than replacing the display.
Essential Tools for Display Repair
Professional diagnosis requires appropriate equipment. Attempting motherboard repairs without proper tools often leads to further damage.
| Tool | Purpose |
|---|---|
| Digital Multimeter | Voltage and continuity testing |
| DC Power Supply | Current consumption analysis |
| Microscope | Component inspection |
| Hot Air Station | IC replacement |
| Soldering Iron | Connector repairs |
| Test Display | Display verification |
A quality digital multimeter allows technicians to measure display voltage lines accurately. Modern smartphones depend on several voltages, and missing values often point directly to the faulty circuit.
A microscope is equally important. Many display-related faults involve microscopic connector damage that cannot be seen with the naked eye. Professional repair centers consider a microscope an essential investment rather than an optional accessory.
Initial Diagnosis Process
Successful repairs begin with careful diagnosis. Skipping this stage frequently results in wasted time and unnecessary parts replacement.
Visual Inspection
Start by examining the phone externally. Look for cracks, signs of impact, water damage, or evidence of previous repair attempts. Pay close attention to display connectors and surrounding motherboard components.
Corrosion around display circuits often indicates liquid damage. In such cases, ultrasonic cleaning may be necessary before further diagnosis. Even small amounts of corrosion can interrupt critical signal pathways.
Power Consumption Testing
Connect the device to a DC power supply and observe current consumption. A normal boot sequence indicates that the phone is functioning internally. Abnormal current readings can reveal motherboard issues affecting the display subsystem.
For example, a device drawing normal boot current but showing no image typically suggests a display-related fault. Conversely, irregular current patterns may indicate processor or power management issues.
Checking the Display Assembly
The display assembly should always be tested before motherboard-level repairs begin. Many technicians overlook this step and waste valuable time troubleshooting circuits unnecessarily.
Testing with a Known Good Screen
Installing a working display is often the fastest diagnostic method. If the replacement screen functions correctly, the original display is confirmed defective.
This approach minimizes guesswork and prevents unnecessary soldering work. Professional repair shops rely heavily on test displays because they dramatically reduce repair times.
Inspecting Display Flex Cables
Display flex cables are easily damaged by repeated opening and closing, accidental bending, or manufacturing defects. Tiny tears within the flex can interrupt critical signals.
Microscopic inspection helps identify hidden damage. Even when external damage is not visible, continuity testing can reveal broken internal traces.
Motherboard-Related Display Faults
When the display assembly tests good, attention must shift to the motherboard. Many advanced no display faults originate from missing voltages or damaged ICs.
Display IC Problems
Display driver ICs process graphical data and communicate with the screen. Failure of these chips can produce a completely black display despite all other phone functions working normally.
Symptoms often include normal booting behavior, vibration feedback, and charging operation. Replacing display ICs requires advanced microsoldering skills and professional equipment.
Missing Display Voltage Lines
Modern displays require multiple voltage rails such as VDDI, VCI, and AVDD. Missing voltages can result from damaged coils, capacitors, filters, or power ICs.
Technicians should compare measured values with schematic diagrams whenever available. Identifying a missing voltage often leads directly to the faulty component.
Step-by-Step Repair Procedure
A structured repair process improves efficiency and reduces mistakes.
Connector Repair
- Remove the damaged connector.
- Clean all solder pads thoroughly.
- Inspect for missing motherboard pads.
- Align the replacement connector carefully.
- Solder using controlled heat.
- Verify continuity and alignment.
Precision is critical during connector replacement. Excessive heat can damage surrounding components or lift motherboard pads.
Display IC Replacement
Display IC replacement should only be attempted after confirming voltage integrity and connector condition. Use professional rework equipment and manufacturer-recommended temperature settings.
After installation, inspect all solder joints under magnification. Even minor solder bridges can prevent the display from functioning correctly.
Preventing Future Display Problems
Many display failures are avoidable. Protective cases, tempered glass, and careful handling significantly reduce screen damage risks. Technicians should educate customers on proper device care to minimize repeat failures.
Regular maintenance also helps. Phones exposed to moisture or extreme temperatures experience accelerated component degradation. Addressing minor issues early can prevent major motherboard failures later.
Conclusion
Repairing a no display problem requires systematic diagnosis, patience, and technical knowledge. While damaged screens remain the most common cause, motherboard faults such as connector damage, missing voltages, and display IC failures should never be overlooked. Successful technicians rely on testing rather than assumptions, using proper tools to identify the exact source of the fault. By following a structured troubleshooting process, even complex display issues can be resolved efficiently and professionally.
FAQs
1. What causes a phone to have no display but still vibrate?
This usually indicates that the phone is powering on normally while the display assembly or display circuit has failed.
2. Can a damaged display connector cause a black screen?
Yes. Even a single bent or broken connector pin can interrupt display communication and produce a black screen.
3. How do I know if the display IC is faulty?
A faulty display IC often results in normal phone operation with no image output despite a working screen.
4. Can software cause no display problems?
In rare cases, corrupted firmware can affect display initialization, but hardware faults are far more common.
5. Is it necessary to replace the screen first?
Testing with a known good display is one of the fastest ways to determine whether the screen itself is defective.